There’s something incredibly satisfying about creating something with your own hands, and DIY cement projects offer the perfect blend of creativity and functionality. Whether you’re looking to spruce up your outdoor space or add a unique touch to your home, cement is a versatile material that can transform your ideas into reality.
I’ve discovered that with just a few basic tools and some imagination, you can craft stunning pieces that not only enhance your decor but also stand the test of time. From planters to furniture and decorative accents, the possibilities are endless. Join me as I explore some inspiring DIY cement projects that will unleash your inner artisan and elevate your living spaces.
Key Takeaways
- Versatility of Cement: DIY cement projects offer a wide range of possibilities, from decorative items like planters to functional furniture, making it an ideal material for creative home enhancement.
- Essential Tools and Materials: Successful DIY cement projects require basic tools such as mixing containers, molds, and safety gear, along with various types of cement suited for specific applications.
- Mixing and Curing Techniques: Proper mixing ratios and curing methods are crucial for achieving durable and aesthetically pleasing results, including maintaining moisture and temperature during the curing process.
- Personalization: Adding unique elements like stones, colors, or textures can elevate your cement creations, reflecting your individual style and enhancing their visual appeal.
- Safety First: Wearing protective equipment, working in well-ventilated areas, and following safe handling practices are essential to prevent injuries while working with cement.
- Engagement and Creativity: DIY cement projects encourage self-expression and creativity, allowing you to transform ordinary spaces into personalized, functional works of art.
DIY Cement Projects
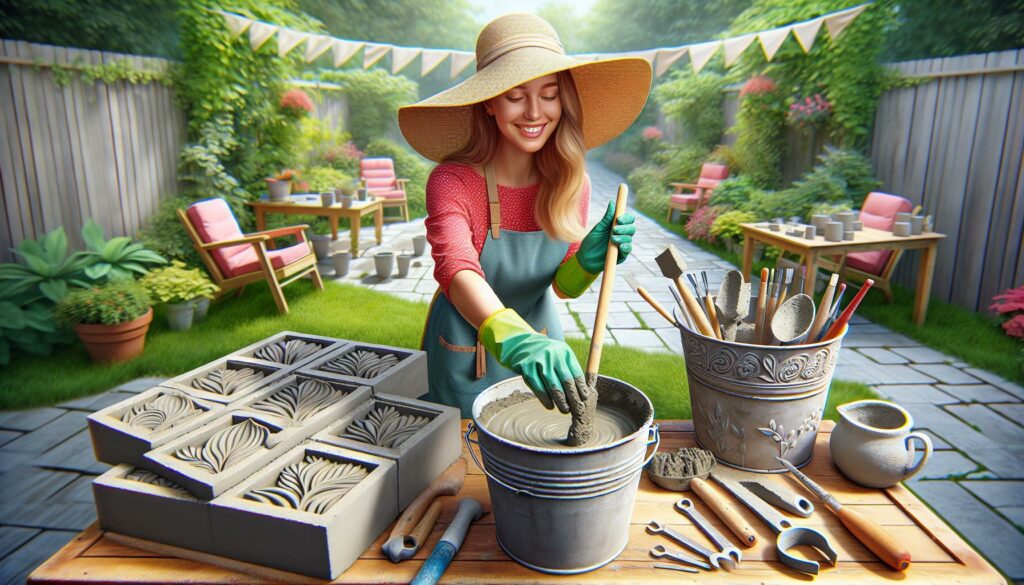
DIY cement projects offer creativity and satisfaction by transforming ordinary spaces. Cement serves as a versatile element for crafting both functional and decorative items. Common projects include planters, furniture, stepping stones, and garden ornaments, fitting a variety of tastes and styles. With minimal tools—such as molds, mixing containers, and mixing tools—I can create unique pieces to enhance my environment.
The process begins with selecting a suitable cement mix, like Portland cement, which ensures durability and strength. Preparing the workspace involves covering surfaces and gathering all necessary materials. I can easily handle smaller tasks, such as making coasters or candle holders, with just a few hours. Larger projects, like outdoor benches or patio pavers, may require a weekend or more.
Utilizing creativity is essential, as a little imagination transforms simple molds into stunning designs. Personalizing each project adds a unique touch, whether through paint, texture, or even embedded objects. For instance, incorporating pebbles or shells into cement planters adds natural beauty and complements outdoor settings.
Exploring DIY cement projects opens avenues for self-expression while enhancing living spaces. Each completed project not only serves a purpose but also reflects personal style and innovation.
Materials Needed for DIY Cement Projects

When embarking on DIY cement projects, having the right materials is crucial for success. Below, I outline the essential tools and types of cement you’ll encounter during your creative endeavors.
Essential Tools
- Mixing Container: Use a sturdy bucket or wheelbarrow for mixing your cement.
- Shovel or Trowel: Employ a shovel for larger mixes and a trowel for smaller, detailed work.
- Molds: Select flexible molds, such as silicone or plastic, to shape your cement creations.
- Water Source: Keep a reliable water source nearby for mixing your cement.
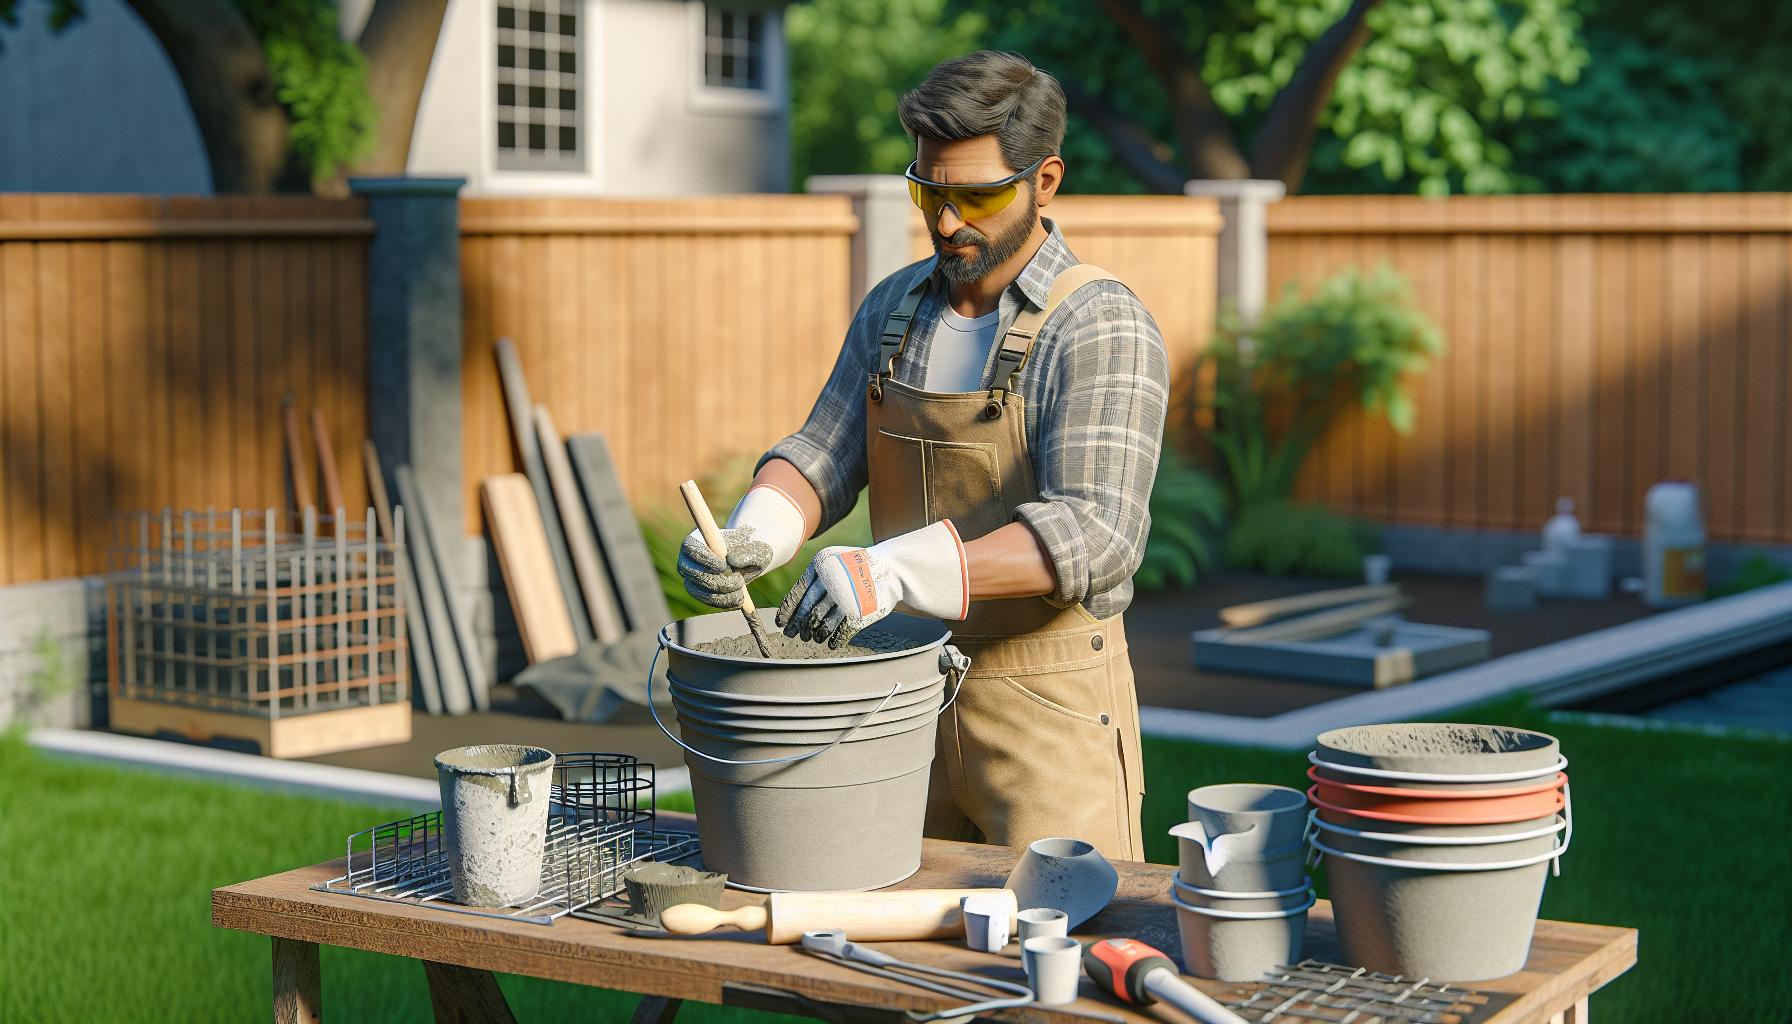
- Safety Gear: Wear gloves, a mask, and safety glasses to protect yourself during the project.
- Measuring Tools: Use measuring cups or tools to ensure accurate proportions of cement and water.
- Sponges and Brushes: Utilize sponges or brushes for finishing touches on your projects.
- Portland Cement: This common type is ideal for most DIY projects due to its strength and versatility.
- Quick-Setting Cement: Use this for projects needing fast curing, typically within a few hours.
- Fiber-Reinforced Cement: Choose this for enhanced durability and resistance to cracking.
- Air-Entraining Cement: This type features tiny air bubbles, improving resistance to freeze-thaw cycles, perfect for outdoor projects.
- Colored Cement: Opt for colored cement for decorative projects that require a unique visual appeal.
By gathering these essential tools and understanding the various types of cement, I’m ready to embark on a wide range of DIY cement projects, transforming my creativity into tangible results.
Popular DIY Cement Projects

Many exciting DIY cement projects exist to enhance both indoor and outdoor spaces. Below are some popular options to consider.
Garden Planters
Creating garden planters with cement adds a unique touch to any garden. I often use molds made from plastic containers or repurpose old buckets. The process involves mixing cement with water until it reaches a thick consistency. Pour the mixture into the mold, allowing it to set for 24 to 48 hours. For added creativity, I embed stones or paint the finished planter to match my garden’s aesthetic.
Decorative Pavers
Making decorative pavers transforms outdoor pathways into artistic expressions. I usually select patterns and shapes that complement the surrounding landscape. After preparing a mold, I mix the cement and pour it in, smoothing the surface. Using stamps or natural items like leaves can add texture and design. Once cured, these pavers provide functional walkways with a personalized touch.
Furniture and Home Decor
DIY cement furniture offers durability and style. I enjoy crafting items like coffee tables, benches, or side tables using sturdy molds. First, I mix cement and pour it into the mold, ensuring a level surface. After setting for a few days, I often add finishes like stains or sealants to enhance the appearance. Cement decor items, such as candle holders or vases, can also amplify my home interior, showcasing creativity and personal flair.
Tips for Successful DIY Cement Projects

Executing successful DIY cement projects hinges on mastering specific techniques. Adhering to best practices ensures solid results and enhances the overall aesthetic of the finished items.
Mixing and Pouring Techniques
Mix cement with precision by following the recommended ratio of water to cement. I typically use a mixing container to blend thoroughly, ensuring a homogenous consistency. When pouring, I start from one corner of the mold and work my way across to eliminate air bubbles. I suggest using a trowel to distribute the cement evenly, smoothing the surface for a clean finish. If incorporating decorative elements, press them gently into the wet cement for secure placement.
Curing Process
Cure cement properly to achieve maximum strength and durability. I cover the poured mix with plastic sheeting for several days, maintaining moisture in the mixture. Regularly misting the surface with water also supports the curing process. After about a week, I carefully remove the mold and let the item cure in a shaded area for additional strength. Monitoring the temperature and humidity during curing can significantly influence the final outcome.
Safety Precautions
I prioritize safety when tackling DIY cement projects. Following specific precautions helps prevent injuries and ensures a smooth crafting experience.
- Wear Personal Protective Equipment (PPE): Use gloves, safety goggles, and a dust mask. These protect against skin irritation, eye damage, and inhaling harmful dust.
- Work in a Well-Ventilated Area: I prefer working outdoors or in a space with good airflow. Proper ventilation reduces exposure to harmful fumes and dust.
- Store Materials Safely: I store cement and tools in a secure area, out of reach of children and pets. Keeping my workspace organized minimizes accidents.
- Handle Tools Carefully: I use tools according to their instructions and keep them in good condition. This prevents accidents and injuries while mixing or pouring cement.
- Avoid Skin Contact with Wet Cement: I ensure that wet cement doesn’t touch my skin, as it causes irritation. If contact occurs, I wash the area immediately with soap and water.
- Follow Mixing Instructions: I adhere to the recommended mixing ratios for each type of cement. Incorrect ratios can lead to weakened projects and unexpected hazards.
- Dispose of Waste Properly: I discard any leftover cement and materials responsibly. Following local guidelines ensures environmental safety and compliance with regulations.
By taking these safety precautions, I create a safer environment for my DIY cement projects.
Beautifying Your Space
Embarking on DIY cement projects has been one of the most rewarding experiences for me. The ability to transform simple materials into beautiful and functional pieces is truly empowering. Whether I’m crafting a unique planter or designing furniture, each project allows me to express my creativity while enhancing my living space.
By following the right techniques and safety precautions, I’ve been able to bring my ideas to life with confidence. I encourage you to dive into the world of DIY cement projects. With a little imagination and effort, you’ll discover endless possibilities that can elevate your home and showcase your personal style. Let your creativity flow and enjoy the journey of making something extraordinary.


